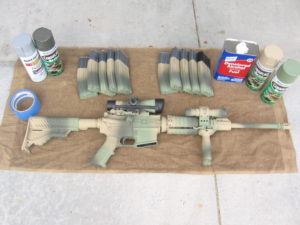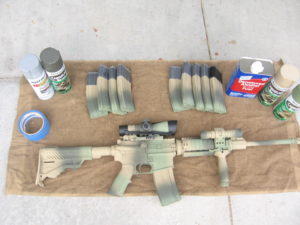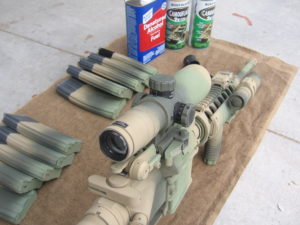
I love camo, and since all the rest of my bug out gear is camouflaged in one way or another I figured I’d add this latest project. When I bought the rifle and attachments the goal was always to do something similar to the final project.
In one of my first posts I camouflaged a Savage .270 that turned out stunning (http://prepare-and-protect.net/2013/11/camo-rifle-project/). In that firearm I was looking for something that would go well in grass and with a ghillie suit. It involved a lot of layering and color variations.
This time around I was more concerned with breaking up the shape and subduing the pattern to me relatively effective in any terrain you might be bugging out in. The major difference to that of my last project was that I used a primer this time.
The texture came out a little grainier, and due to the primer the paint ended up a little thicker. But if my .270 is an indication to how well the paint holds up then this will do just fine. My other rifle was painted roughly eight years ago and has shown only minor damage and flaking of the paint; and has remained a stunning piece in my small arsenal.
Quite a few other guys use a clear matte sealant. I haven’t used one on either project, but it doesn’t mean that’s the best way to do it.
Obviously I removed the bolt, buffer spring, and other bits and pieces; and after taping up the weapon and its components I stuffed rags in the upper and lower receiver. The optic, pop up iron sites, flashlight, and hand guards were all removed and painted separately. I had no issues with paint bleeding through. I hung it from a bungee in the garage with plastic underneath and made a great afternoon out of it.
Hope you enjoy a few shots of the final product. It’s neutral colored and the broad coloring helps break up the shape; the two things I was going for. My biggest complaint would be that the paint I bought ended up a little cool in color tone.
Also, the colors are a little darker in life than in the pictures.
Jon


Leave a Reply